


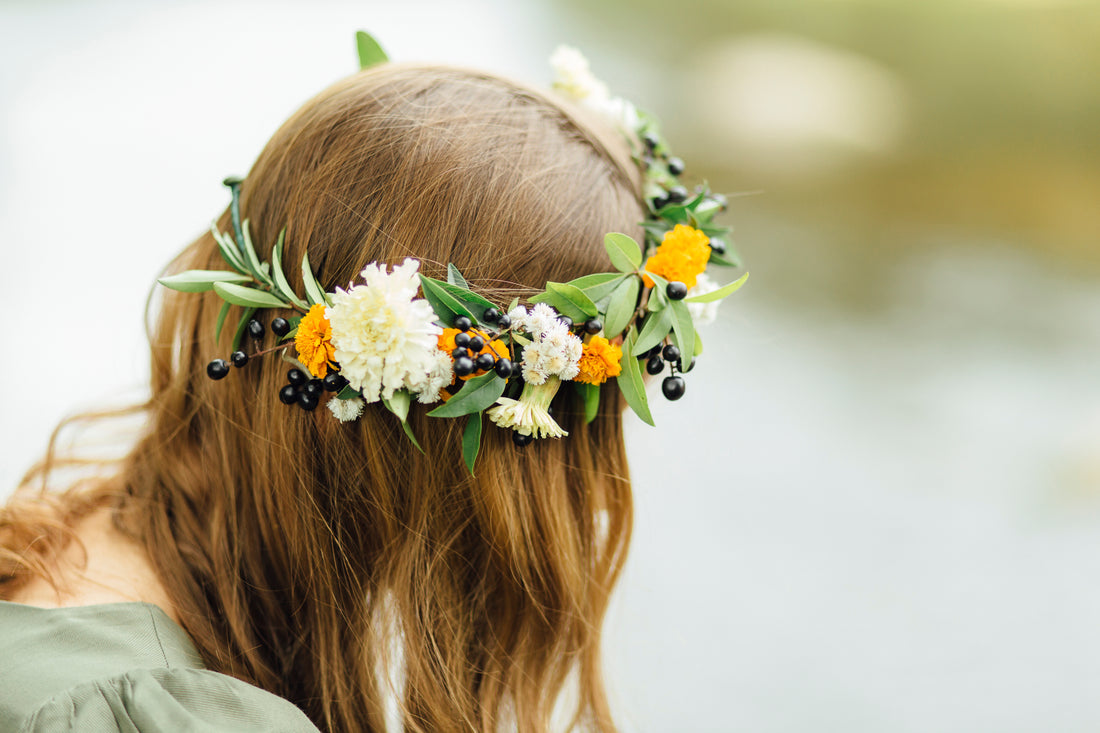
How to make a flower crown
How to make a flower crown
Want to make an attention-grabbing flower crown for a festival, hen do, wedding or party?And good news! It’s not as hard as you’d think. Everyone can do this. You just need to allow about an hour to make it on the day you want to wear it so it’s lovely and fresh. But if you really, really won’t have time on the day? Just make it the day before and fill it in a big bowl of cold water overnight.

What you’ll need:
Measuring tapeFloristry wire
Green floristry tape
Floristry scissors
Ribbon of your choice
1 l bouquet
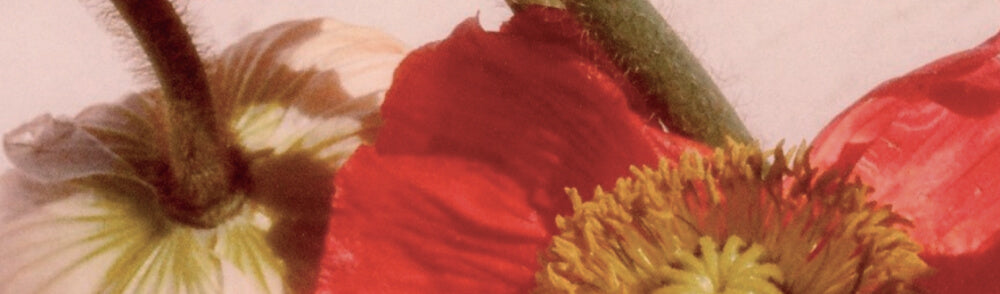
Top tip: Choose a bouquet with woody or rigid stems as they last longer out of water. Roses, carnations, leucospermum, celosia and foliage like ruscus and eucalyptus are all great choices.

Step 1: Measure your head
Measure your head then cut your floristry wire to size.You'll need to add two extra inches to your measurement so you can make loops at either end (see step 2).
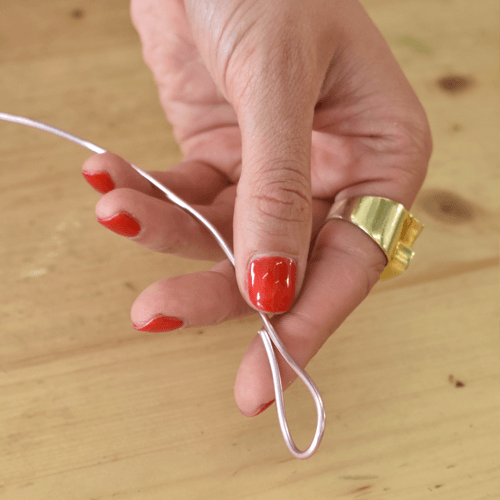
Step 2: Make your wire frame
Twist each end of wire to create loops.Hold them in place by tightly wrapping them with floristry tape.
You’ll pop your ribbon through these later!

Step 3: Cut your flowers really short
Trim every flower down so there’s only 1-2 inches of stem left.Cut down your foliage into sprigs this long as well.
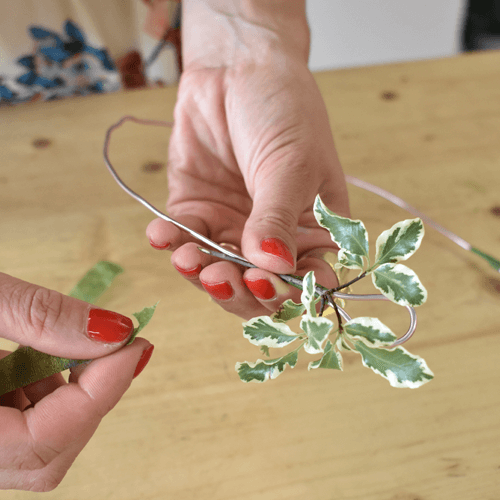
Step 4: Start with a piece of foliage
Start by placing a piece of foliage at one end of the floral wire, keeping it as close to the loop as you can without covering it.
Step 5: Hold it in place with tape
To hold it in place, grab your floristry tape.Keep it on the reel, but hold the open end over the stem and wire, pull the tape until it turns clear then tightly wrap it around.
Do this once or twice until it feels securely held.
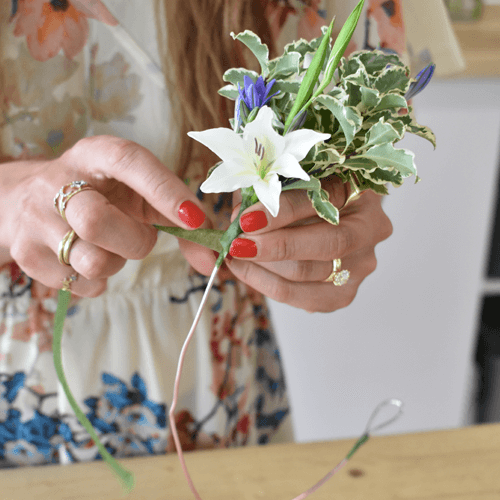
Step 6: Now do the same with a flower
You want to pop your flower as close to the foliage as possible to hide any signs of the tape!
Step 7: Add all your flowers and foliage
Now keep repeating steps 6 and 7, alternating between foliage and flower, until your crown is full.Remember to keep pulling your tape tightly and to keep your stems lined up in the same direction as you go.
Try saving some of your bigger, focal stems for the front where they’ll be most seen.
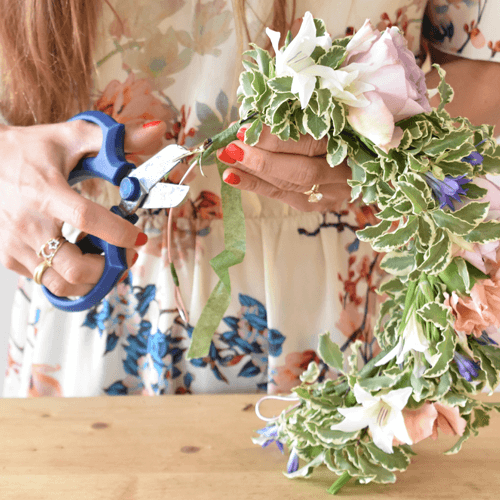
Step 8: Trim any pokey stems
If any stems poke out of line, just trim them at the edge of the tape as you go along!This will make the flower crown smoother and more comfortable to wear.

Step 9: Secure the last piece of foliage in place
When you reach the end of your crown, secure the last piece of foliage in place by tightly wrapping it with floristry tape.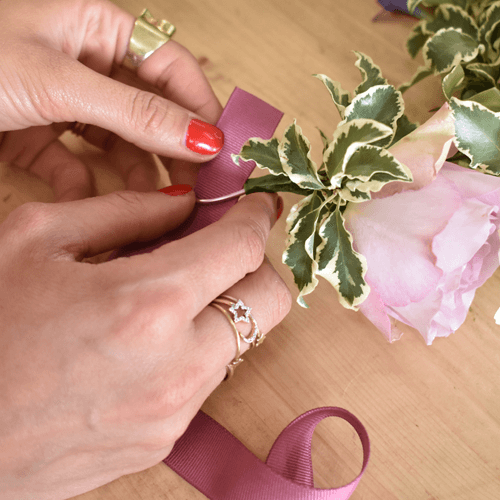
Step 10: Add your ribbon
Finally, tie your ribbon through the end loops.You can make the ribbon as long as you like, depending on how big you'd like your bow to be!
